
22 August 2026
The hexagonal tile is back everywhere, and with it a great many badly laid floors. The pattern cannot be caught up: where a square tile tolerates a discreet adjustment in a corner, the hexagon carries the smallest error of line all the way to the far wall, where it becomes a tapered cut that nobody can hide.
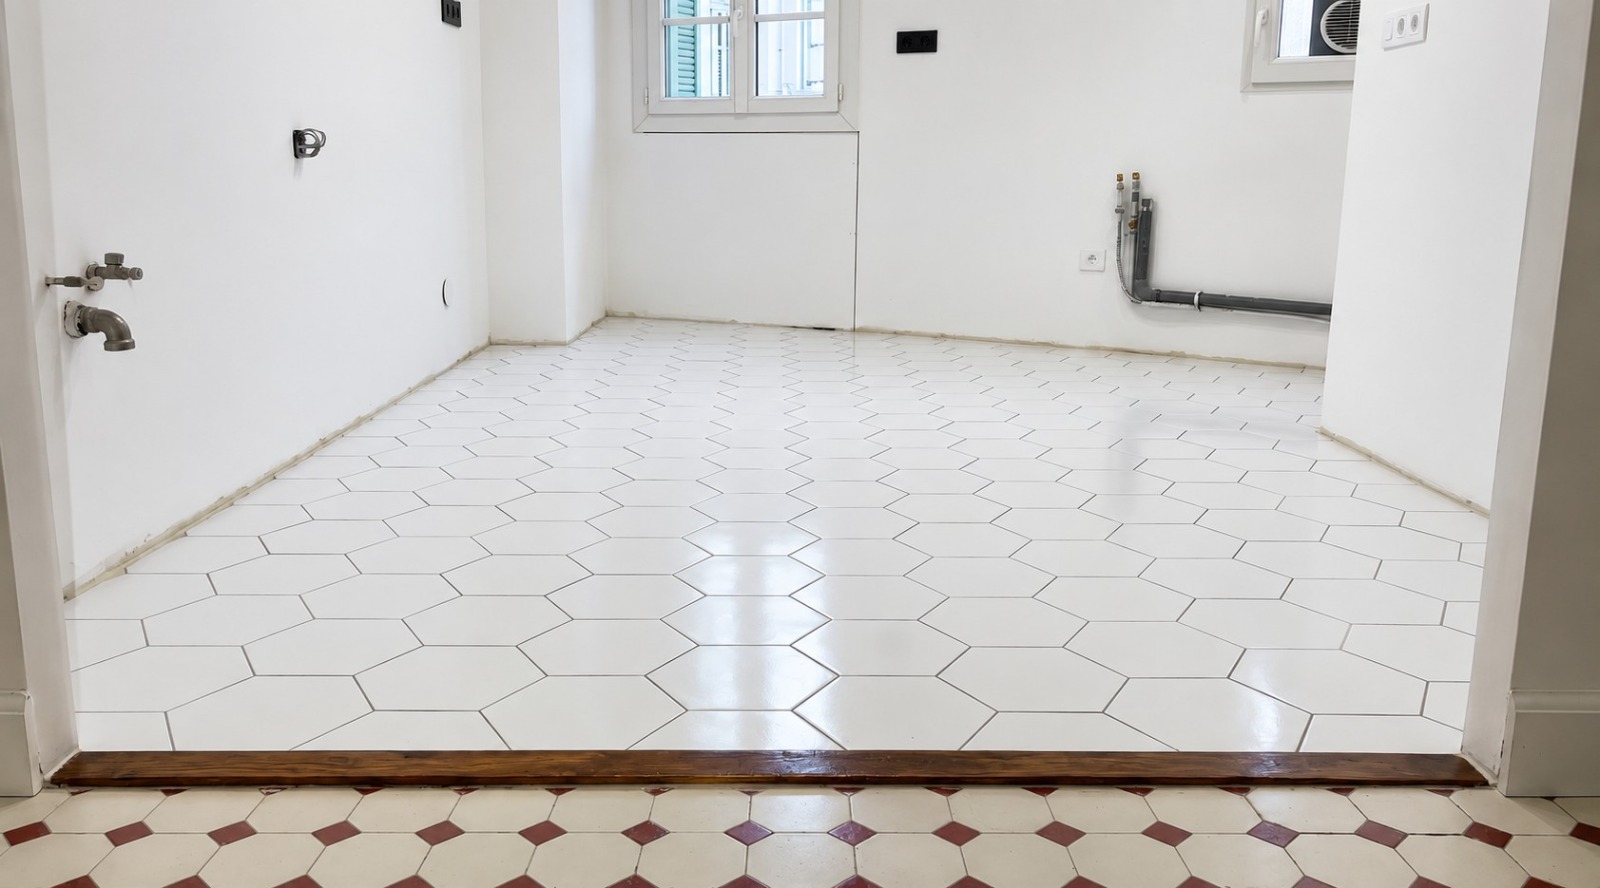
Here is how we go about it, on a real project, in a Nice apartment where the original floor was a 1930s terrazzo.
1. The substrate decides everything
Before talking about pattern, you need a plan. We strip back to sound substrate — here the original terrazzo, which we brought back to bare rather than laying over it. Tiling over an old covering saves a day and costs two centimetres of ceiling height, a bond you cannot count on and, in time, tiles that sound hollow.
Flatness is checked with a two-metre straightedge: more than five millimetres of deviation and a levelling compound is called for. On a large hexagonal format, a defect in the substrate does not give a bump, it gives an edge — the neighbouring tile lifts, and raking light reveals it at every hour of the day.
2. The starting line, and why it is not the middle of the room
This is the stage people rush, and it decides everything. Instinct says to start from the geometric centre of the room; that is almost always a mistake. The right line is the one that puts the cuts where nobody sees them.
We set out with a laser, taking three things into account: the centre line of the openings — a doorway frames the floor like a picture, and the joints must fall straight inside it —, the wall that shows most from the entrance, and the real squareness of the room, which in old Nice buildings is never the one on the drawing. A 1930 room commonly runs two to three centimetres out of square over five metres.
That setting out takes an hour. It saves two days.
3. The dry lay
Before a single drop of adhesive, we dry-lay several complete rows, wall to wall. It is the only way to see what the perimeter cuts will look like — and to shift the line by a few centimetres if one of them falls badly.
The rule we set ourselves: no cut smaller than a third of a tile in a corner that shows. A three-centimetre sliver wedged between two whole hexagons is visible from the doorway, and it will be the first to come loose.
It is also the moment to mix the boxes. Porcelain stoneware varies slightly in shade from one batch to the next; drawing from five boxes at a time spreads the variation instead of creating lighter patches.
4. Laying the tiles
Adhesive combed with the notched trowel matched to the format, and back-buttering as soon as the tile is over thirty centimetres: the back of the tile takes a thin skimmed coat, which drives the air out and guarantees full contact. A tile laid on ridges of adhesive sounds hollow and cracks under the first heavy piece of furniture.
Levelling clips earn their price on this format: they take out the lippage between two neighbouring tiles, which is the most visible defect and the only one that can no longer be corrected once the adhesive has set.
5. The grout, and the junction with the old floor
The grout is chosen with the tile, not afterwards. A pale grout on white terracotta erases the pattern; a grey grout underlines the hexagon and gives the floor its graphic quality. On this project the client wanted to see the pattern: we struck a grout slightly darker than the tile.
That left the delicate point: the junction with the old floor in the entrance hall, an original red octagon that we did not want to hide under an aluminium threshold strip. We fitted an oak threshold, cut to the line, in which the white terracotta dies into the red octagon. Two periods touching without colliding — the kind of detail that takes half a day and makes a floor look as though it had always been there.
What to take away
On a hexagonal floor, the time goes before the tiling: stripping back, flatness, marking out, the dry lay. Laying itself is the quick part. A tiler who starts spreading adhesive on day one has not done the work — he has pushed it back to the far wall, where it can no longer be put right.
HEXABAT — Renovation & Prestige, Nice