All-trades contractorNice, Monaco & French Riviera — 06
The cut tiles are shared out around the perimeter, the joints fall on the centre line of the openings.

HomeExpertiseFloor & wall tiling

Tiler

Hexagonal terracotta, large-format porcelain stoneware, wood effect, wall tiles: we lay tiles the way they should be laid — starting with the substrate.

Our approach

The job is won

A tile that sounds hollow, a grout line that cracks, a large format that sits proud: in nine cases out of ten the cause is not the laying but the substrate. We strip back, level, prime and respect the drying times before a single tile goes down.

Then comes the setting out. The starting line, how the cuts are shared out, the direction of the light: those decisions are taken with a pencil, not as the work goes along. That is what avoids a sliver of a cut tile in the most visible corner of the room.

What we lay

  • Hexagonal terracotta and encaustic cement tiles
  • Large-format porcelain stoneware
  • Wood-effect tiling, floors and staircases
  • Wall tiles, plain or patterned
  • Natural stone, marble and travertine
  • Skirtings, stair nosings and trims
  • Levelling compound, primer and substrate preparation
  • Screeds and level corrections

Flatness, in figures

A substrate is checked with a 2 m straightedge laid on the floor, in several directions. The hollow it reveals is what the tile will have to bridge: the larger the format, the less able it is to do so. A 60 cm plank still follows a slight movement in the substrate; a 120 cm slab does not — it sits proud at the corner, and that is called lippage. You feel it underfoot before you see it.

That is why we apply the levelling compound beforehand, not as the work goes along. A levelling compound is poured, left to dry for as long as its maker states, then primed. That time is not negotiable: adhesive applied to a substrate that is still damp does not grip, and the tile sounds hollow a few months later, when nothing can be put right without taking the whole floor up again.

On large formats we double up the bedding — the adhesive is combed onto the floor and onto the back of the tile — so that there is no void under the slab. A void under a large format is the point where it will crack the day a heavy piece of furniture is set on it.

The setting out: where the first slab starts

Starting from a wall means leaving chance to decide the cut that will be left at the other end. And in a room, not all the corners are equal: the one you see from the door, the one that catches the raking light from the window, the one the eye stops at from the sofa. Setting out means deciding before laying where the cuts fall, and sending them where nobody looks.

Three simple rules guide that layout. Avoid the sliver of a cut: a three-centimetre strip along a wall shows and breaks. Line the joints up on the fixed points of the room — the centre of a door, the line of a kitchen unit, a stair nosing. And lay with the light, because a joint caught in raking light reads twice as strongly as the same joint seen head-on.

In Nice the light is unforgiving. A south-facing window at the end of the day reveals everything: an uneven joint, half a millimetre of lippage, a layout set off centre. These decisions are best taken during the visit, in the room itself and at the hour when it is at its brightest.

Large format, hexagonal terracotta, cement tiles: three different ways of laying

Large-format porcelain stoneware asks for flatness, double bedding and fine joints. Its advantage is its surface: few joints, so few lines to break up the space, and easy cleaning. What it demands is the substrate, as above.

Hexagonal terracotta, old or new, is never perfectly gauged. It is laid with a slightly wider joint, accepting what is irregular in fired clay — which is precisely where its value lies. Reclaimed old terracotta is cleaned, made good and sealed; it cannot be replaced with an imitation without that showing.

Encaustic cement tiles are porous and will stain before they are even laid if care is not taken. They are sealed before laying, then again after grouting, with a suitable water-repellent. The grouting is done in small areas and wiped off quickly: a grey grout left to dry on a pale pattern is embedded in it for good.

Wall tiles, finally, go on a flat and sound substrate, and in a wet room on a continuous waterproofing system. A wall is not a floor: it does not forgive adhesive built up to take up a level, which ends up reading as a ripple under the lighting.

Joints, thresholds and skirtings: what shows in five years

A joint is not a decorative finish, it is a working part. It absorbs the movement of the substrate, it keeps water out, and its colour decides how the whole floor reads: a contrasting grout draws every tile, a tone-on-tone grout erases the grid. That choice cannot be revisited afterwards.

A tiled surface needs to breathe. Around the edges, a flexible joint against the walls; in large rooms, a movement joint; and at the passage from one room to the next, a threshold that allows for movement. It is the absence of those three that cracks a new tiled floor, never the quality of the tile.

That leaves the junctions: the meeting with a wood floor, a stair nosing, the return behind a radiator, the passage under a door. These are areas of a few centimetres, and they are exactly the ones the eye checks on the way in. They are in the quotation, like everything else.
Step by step

How the laying proceeds

01

Visit and survey

Areas, condition of the substrate, flatness checked, threshold and door heights. Photos.

02

Quotation and setting out

Within 48 working hours. The setting out comes with the quotation, quantities and cuts included.

03

Strip-out and disposal

Old covering, skirtings, adhesives. Taken to the waste centre, access routes and common parts protected.

04

Substrate preparation

Stripping back, defects made good, levelling compound, primer, drying times respected.

05

Laying

Centre lines marked, double bedding on large formats, cuts trimmed to fit, levels checked as the work goes.

06

Grouting and finishes

Grouting, flexible joints around the edges, skirtings, thresholds, cleaning at the end of the job.

Our projects

What it looks like

Click on a photo to follow the project step by step.

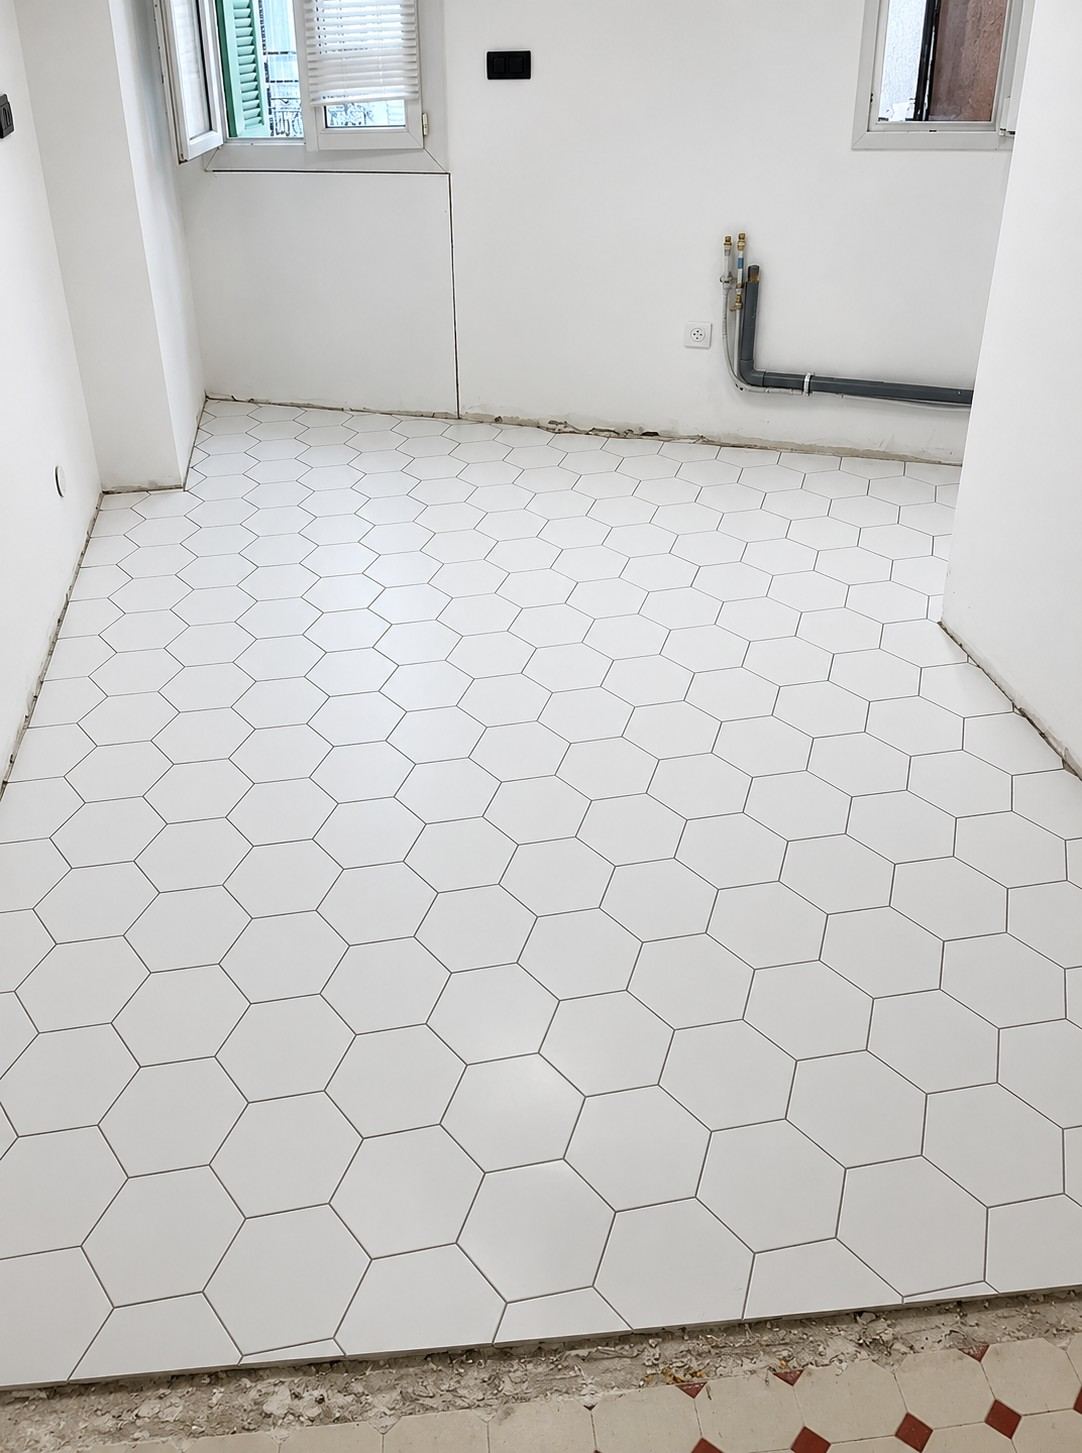
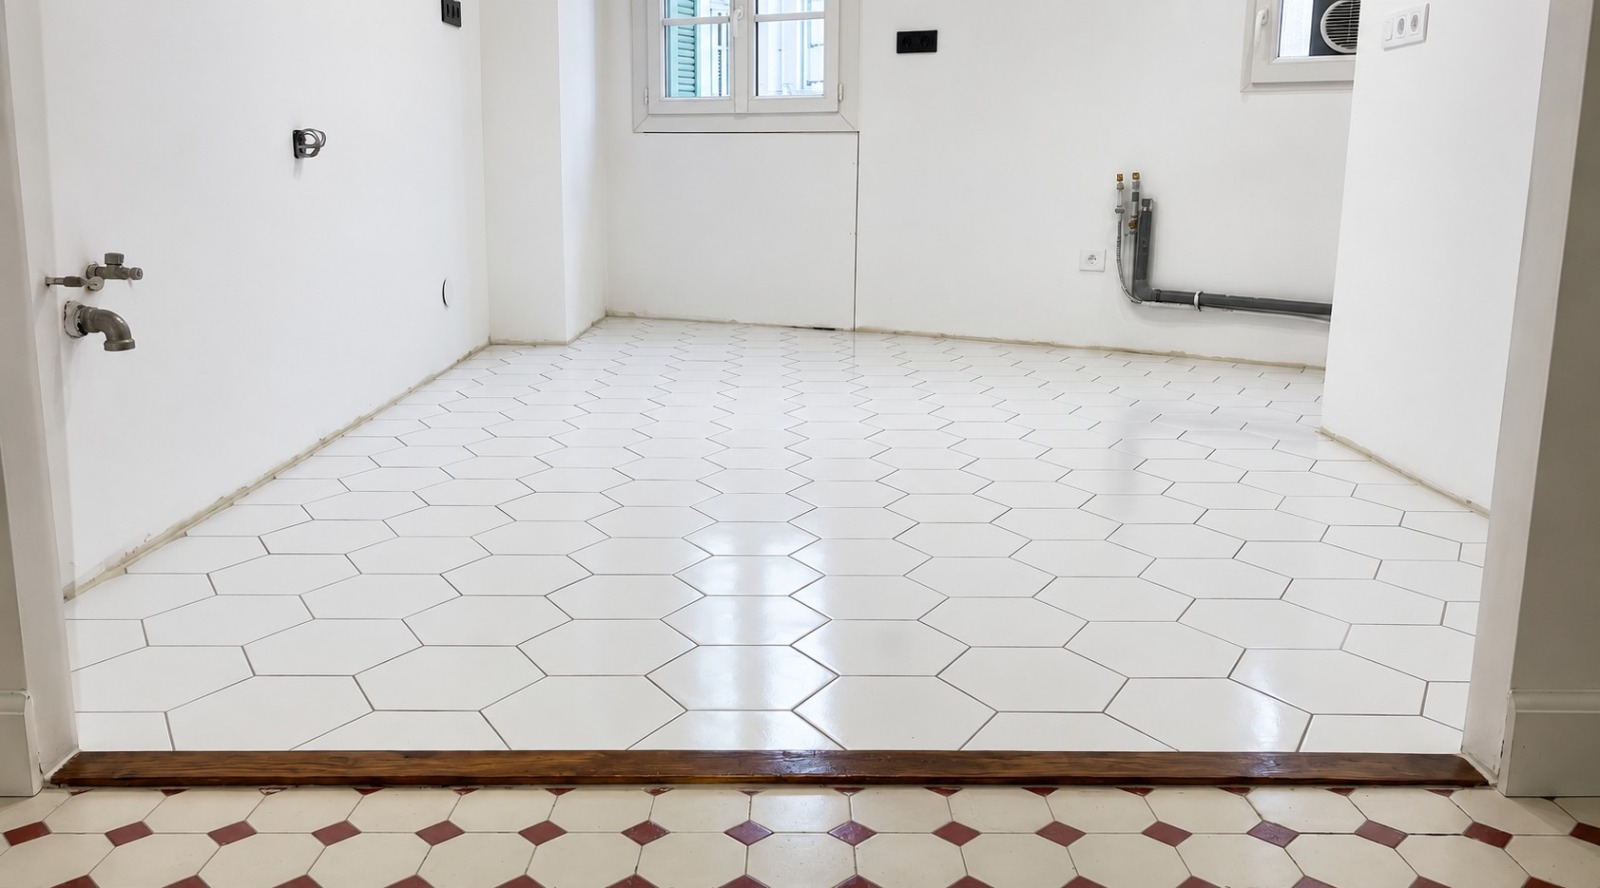
Grout struck off, oak threshold fitted and the junction with the old floor cut to the line: the white terracotta dies into the original red octagon, with no trim.
Tiling
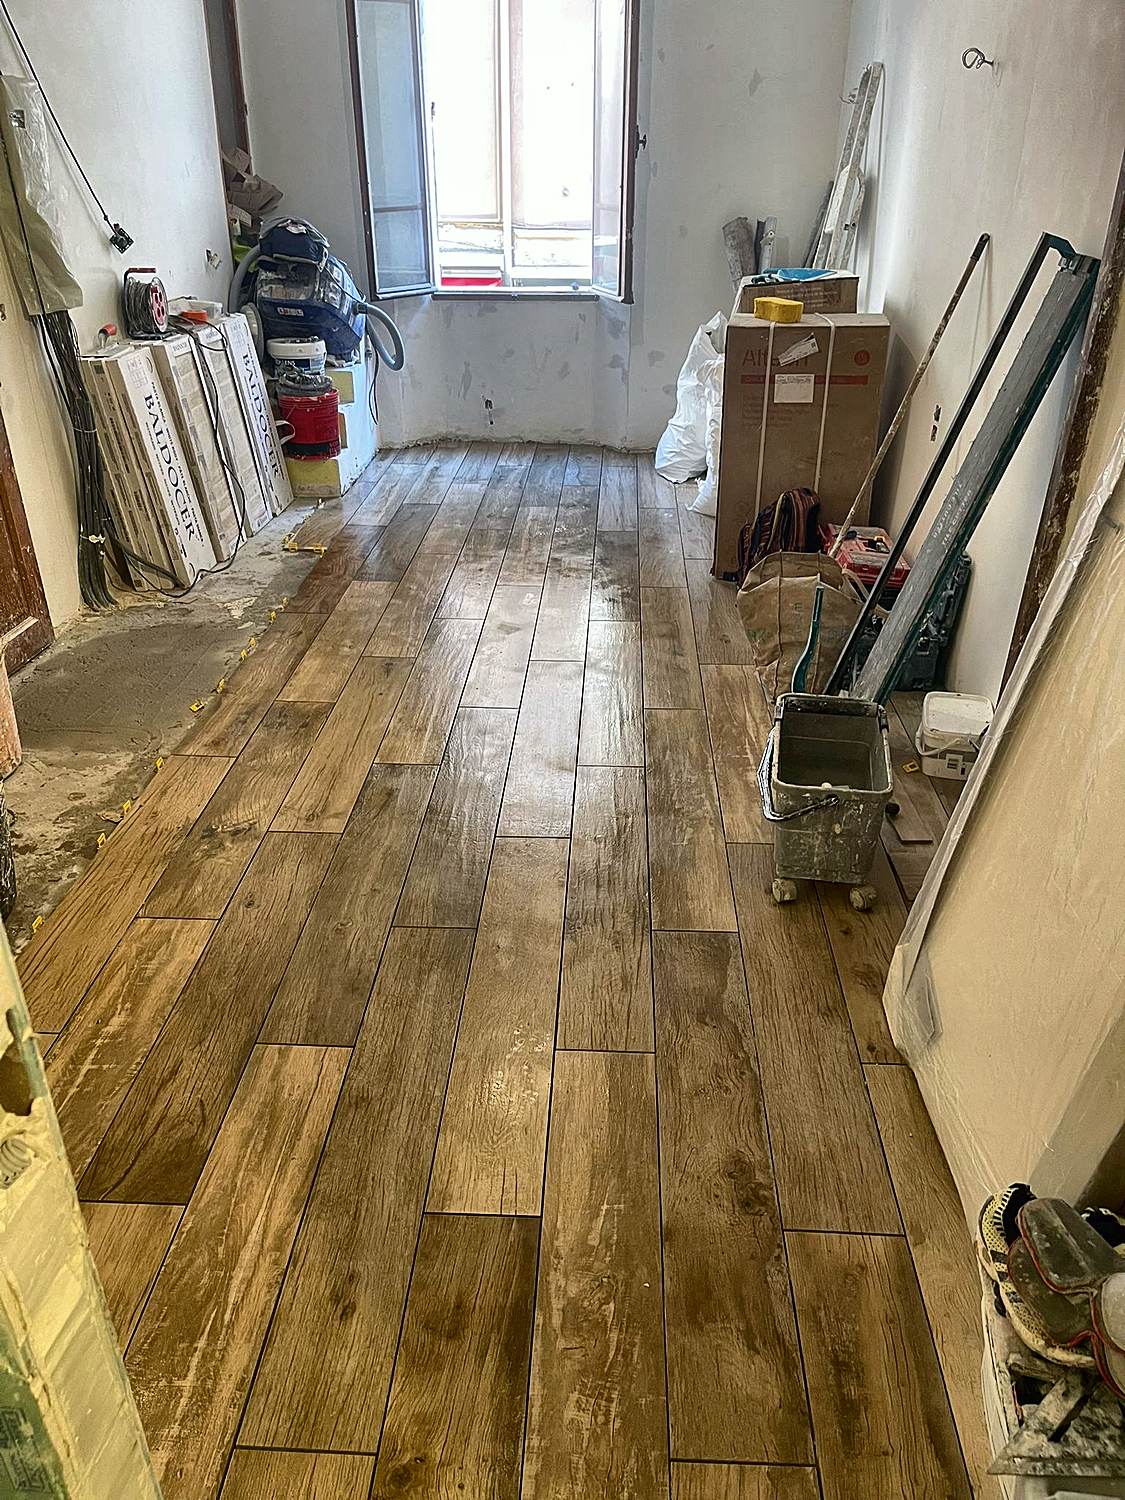
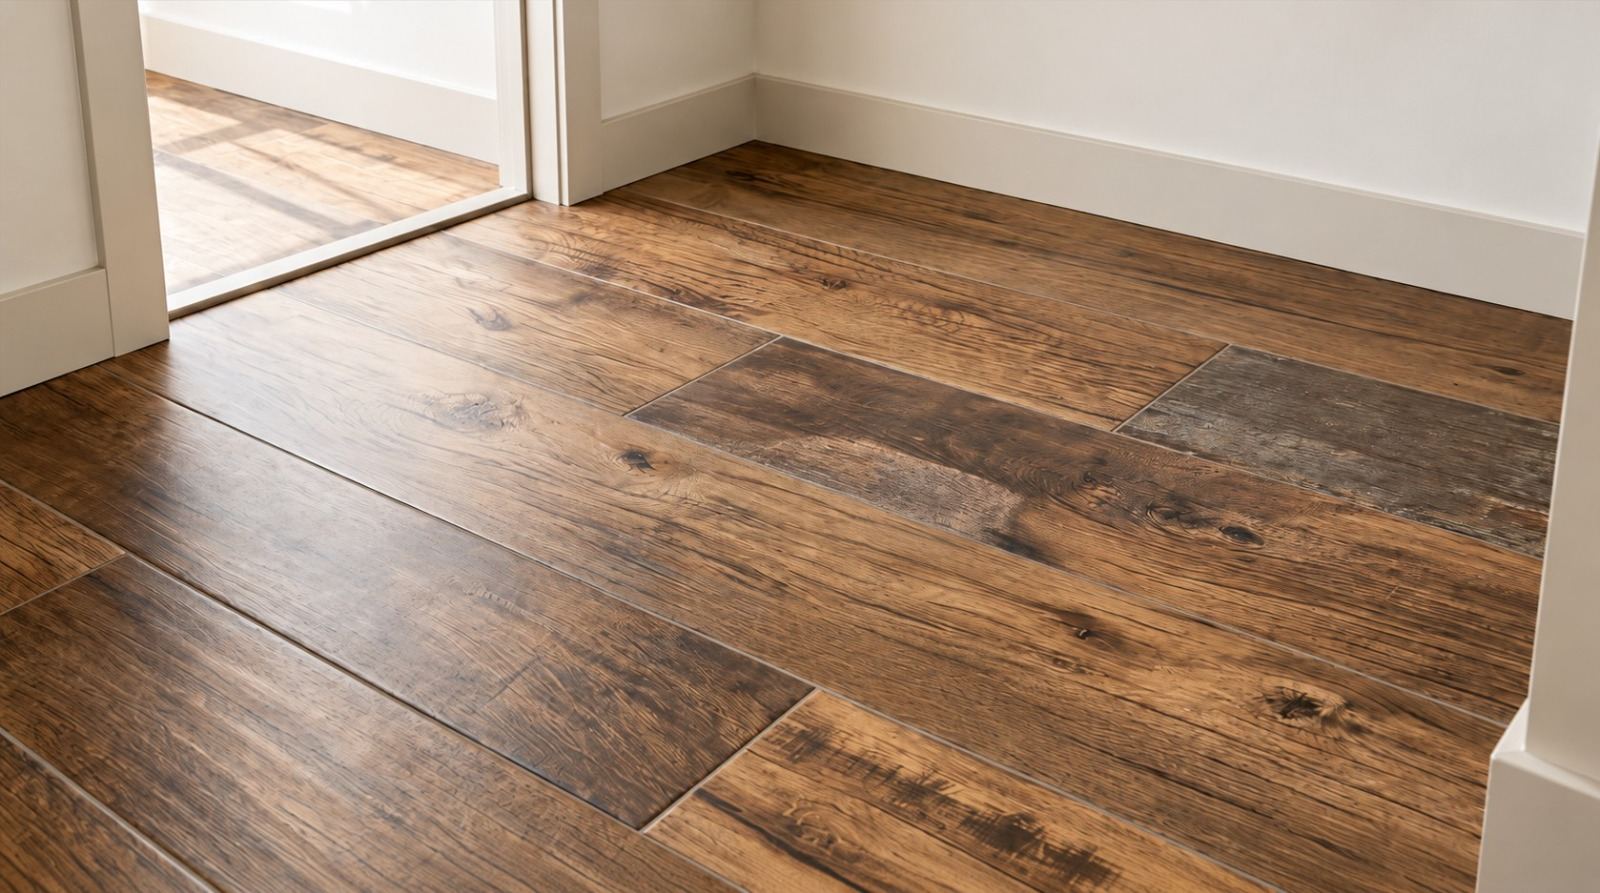
Large-format wood-effect porcelain stoneware, laid in a staggered bond. The grain changes from one board to the next so nothing repeats.
Tiling
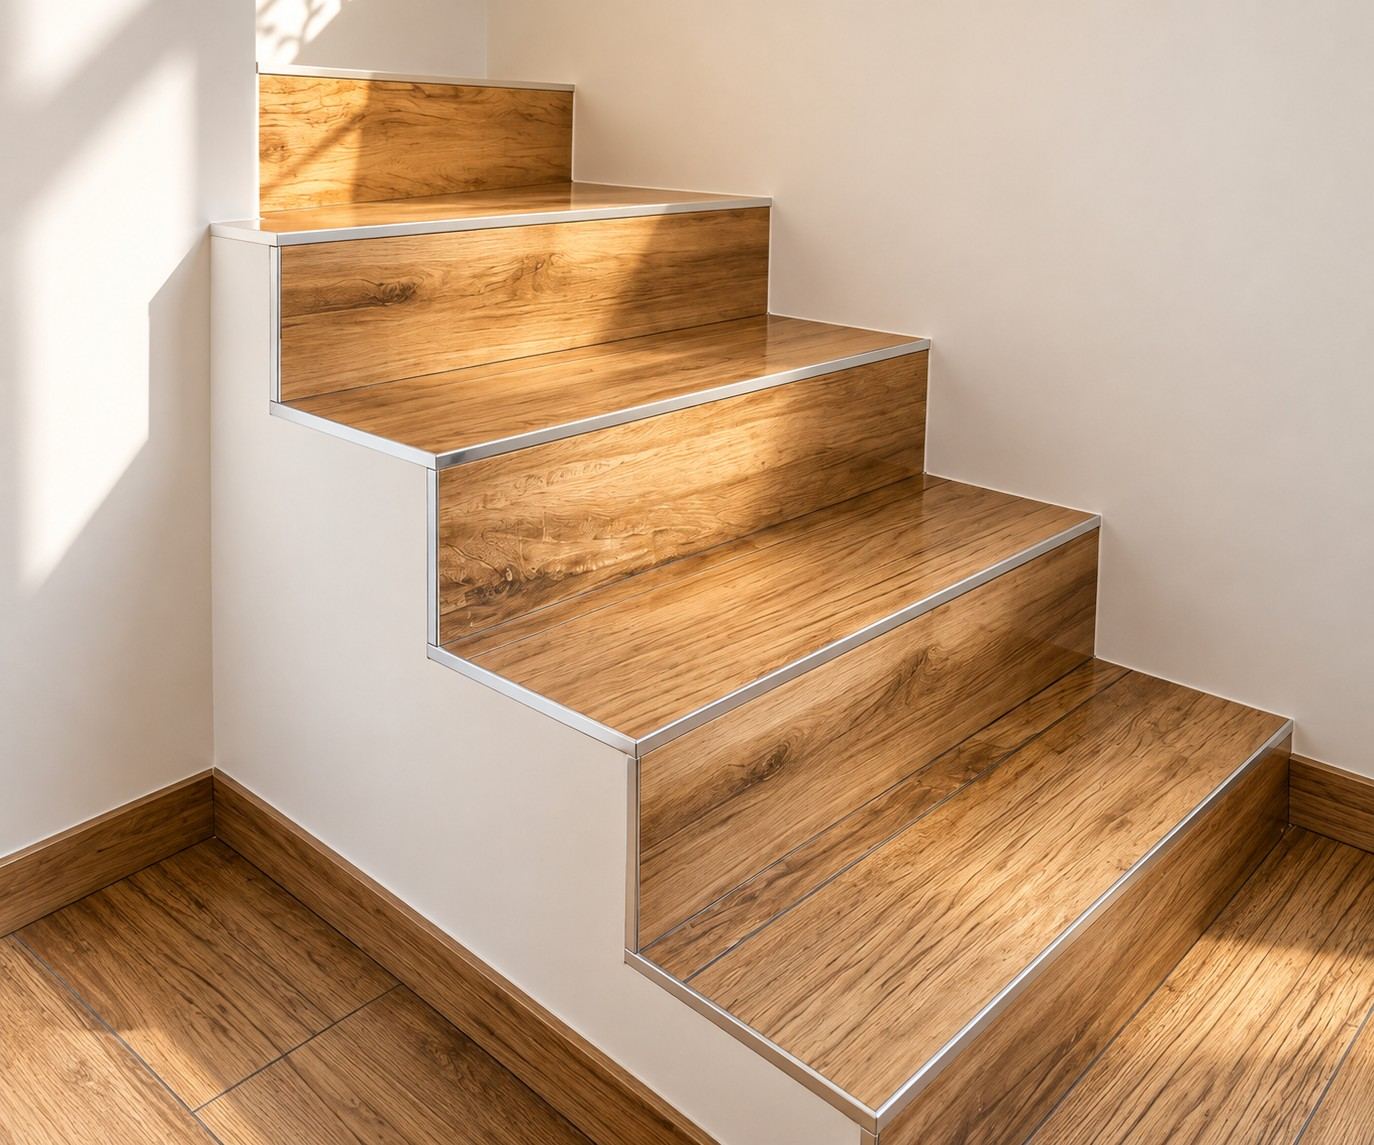
One single piece per tread, matching riser and aluminium stair nosing — the staircase carries the floor on without a break.
Tiling
Floor laid, matching skirtings, grout tinted to the shade of the boards.
Tiling
The cut tiles are shared out around the perimeter, the joints fall on the centre line of the openings.
Tiling
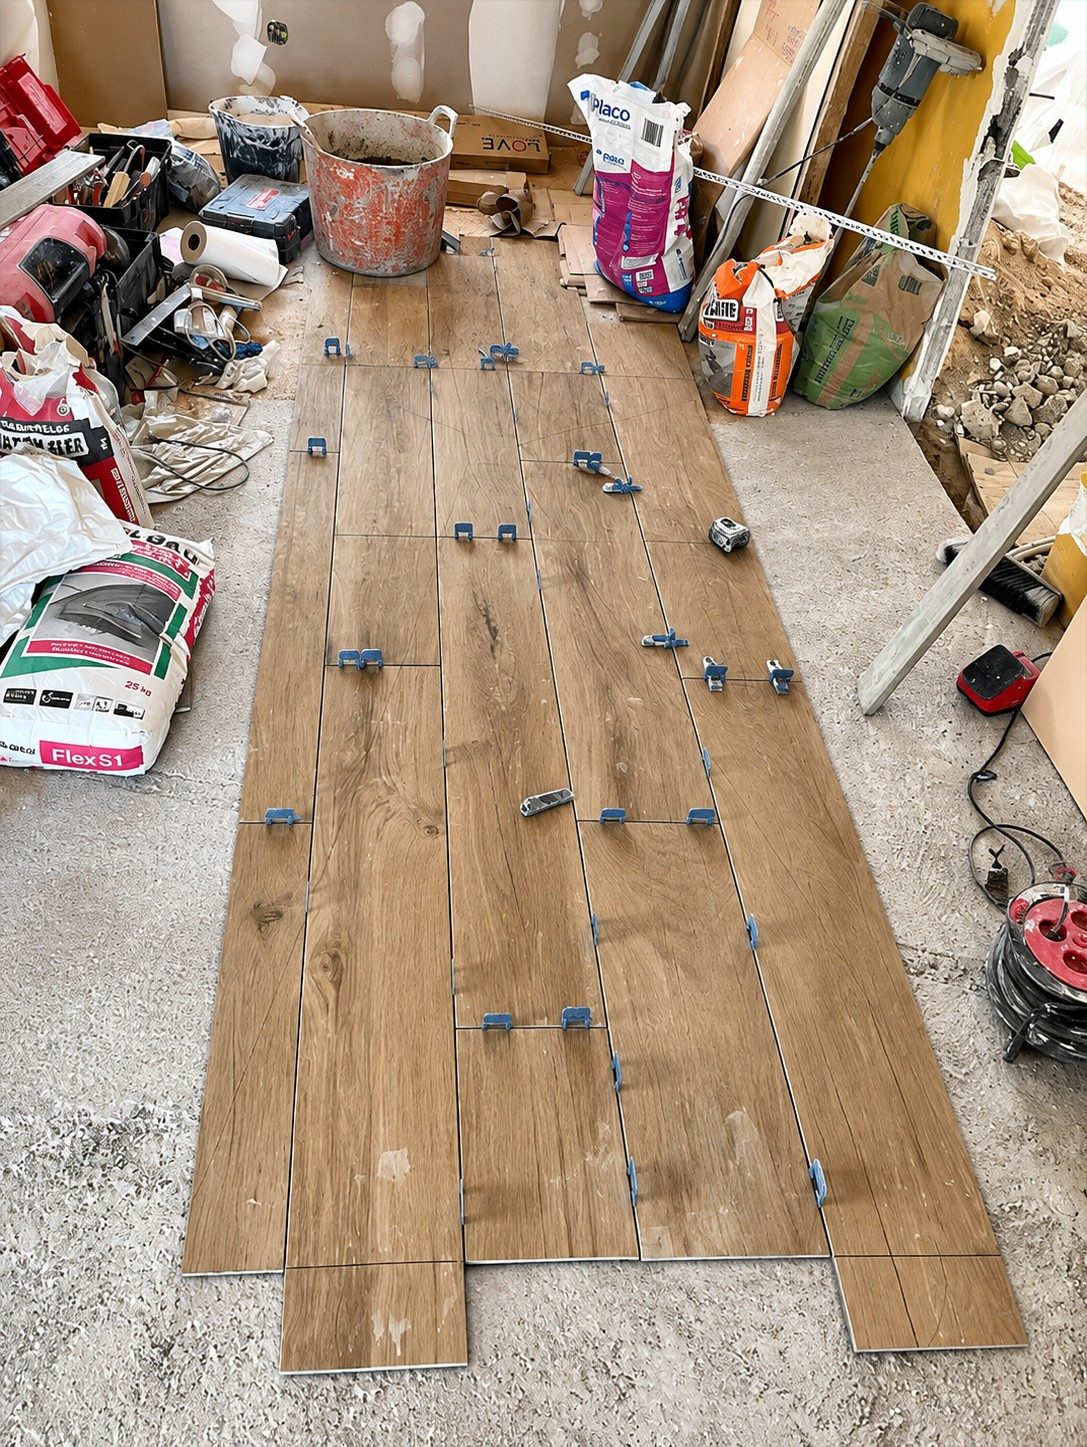
The boards are dry-laid before any adhesive goes down: that is when we decide where the cuts fall.
Tiling

Your project

A

Send us a few photos and what you have in mind: we will tell you what is possible, and at what budget.

Let's talk it through

How we work

The detail

01

The setting out

We draw the layout before we lay it. A sliver of a cut tile in a visible corner spoils a whole floor — that is decided at the start, not at the end.

02

Levelling

Levelling clips on every joint. On large formats, half a millimetre of lippage shows up against the light.

03

The finishes

Stair nosings, corner trims, grout coloured right through: these are the details that make a tiled floor age well.

Frequently asked questions

Tiling: your questions

Does the old tiling have to come up?

Not always. If the old floor is sound, well bonded and flat, the new one can go over it with a bonding primer — which avoids the strip-out, the dust and the disposal. We check it tile by tile during the visit: tapping a few with a mallet is enough. The height gained does affect the doors and the thresholds, though, and that has to be allowed for.

Is a large format possible in my home?

The substrate answers that, not the room. We check the flatness with a straightedge during the visit: if a levelling compound is enough, a large format is possible; if the floor moves significantly, a smaller format will hold better and will cost less than the levelling work it would take.

How long before it can be walked on?

The adhesive has to set, then the grout. The times are those of the makers of the products used, and they are written into the programme issued with the quotation, because they decide the date the room comes back into use.

Can old terracotta tiles be reclaimed?

Often yes. They are lifted one by one, cleaned and relaid, with new pieces made up where some are broken. It takes longer than laying new, and it is priced as such; but no imitation gives the same result. After the visit we tell you what the existing floor allows.

Do you also tile terraces and balconies?

Yes, with the obvious reservation: outdoors, everything depends on the waterproofing and the falls underneath. We check them before pricing, because laying new tiles over tired waterproofing amounts to sealing it in under the covering.

We work in Nice, across the Alpes-Maritimes and right along the French Riviera

NiceAntibesSaint-Jean-Cap-FerratBeaulieu-sur-MerCap d'AilValbonneSaint-Paul-de-VenceMentonVenceRoquebrune-Cap-MartinCannesMonacoVillefranche-sur-MerÈzeMouginsSophia-AntipolisCagnes-sur-MerGrasseLe Cannet

For a quote, let's talk

Let's bring to life

Tell us about your project: we will come back to you within 48 hours for a first conversation and a visit to the property. Survey and site visit free of charge in Nice and across the French Riviera.

Call usRequest a quote